I’m feeling very excited about Christmas. My husband, who is a children’s writer, was finally able to give up his retail ‘day job’ a few months ago, so we’ll actually be able to spend the whole holiday period together this year (and we’ll be boycotting the Boxing Day sales!)
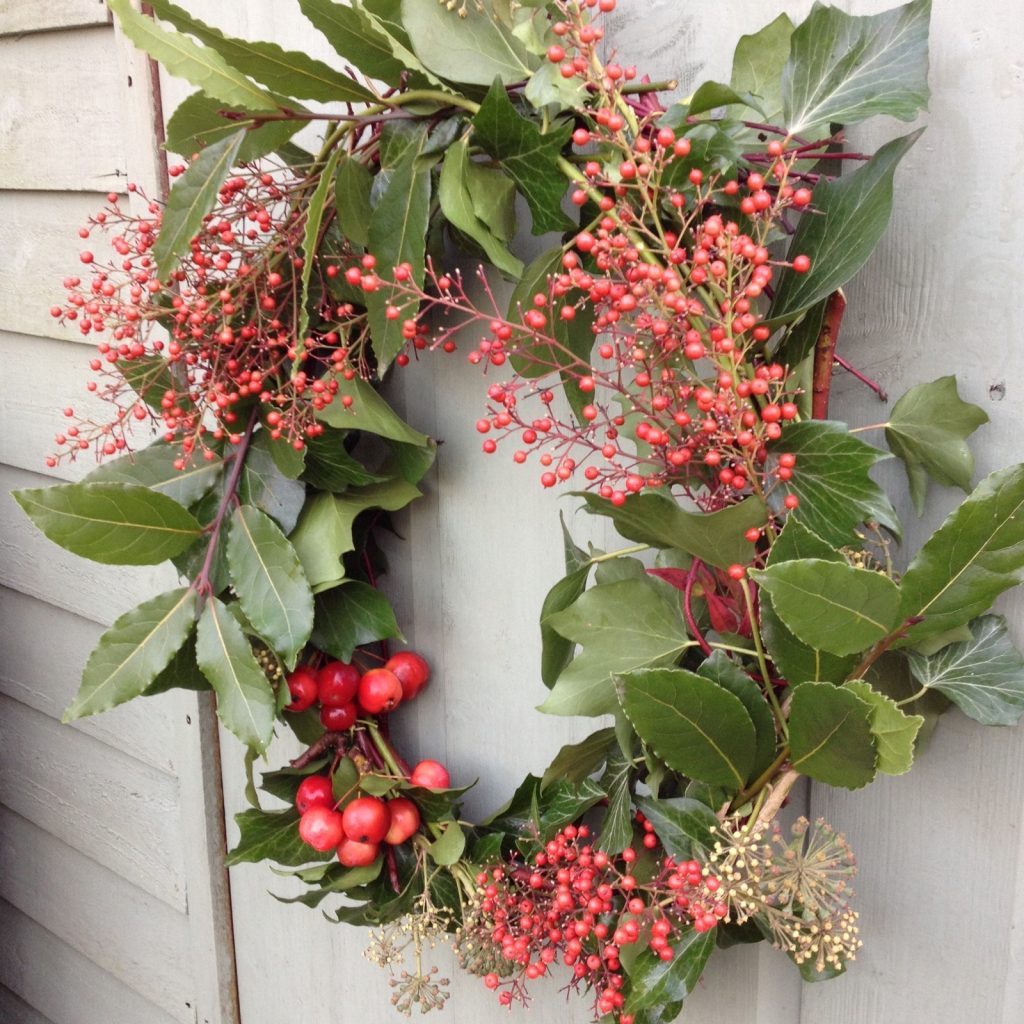
I put decorations up all over the house at the beginning of the month, and I keep adding more. As far as I’m concerned, more is more at Christmas. Indoors, all our decorations are fake and plastic, but delightful nonetheless. This morning, I had a go at making a real, all-natural, garden wreath to put on the front door, and I love it! I highly recommend that you make one. It’s not actually difficult, and once you’ve made it, you can revel in the smug satisfaction that it was all your own work, and the festive feelings that the activity will certainly induce.
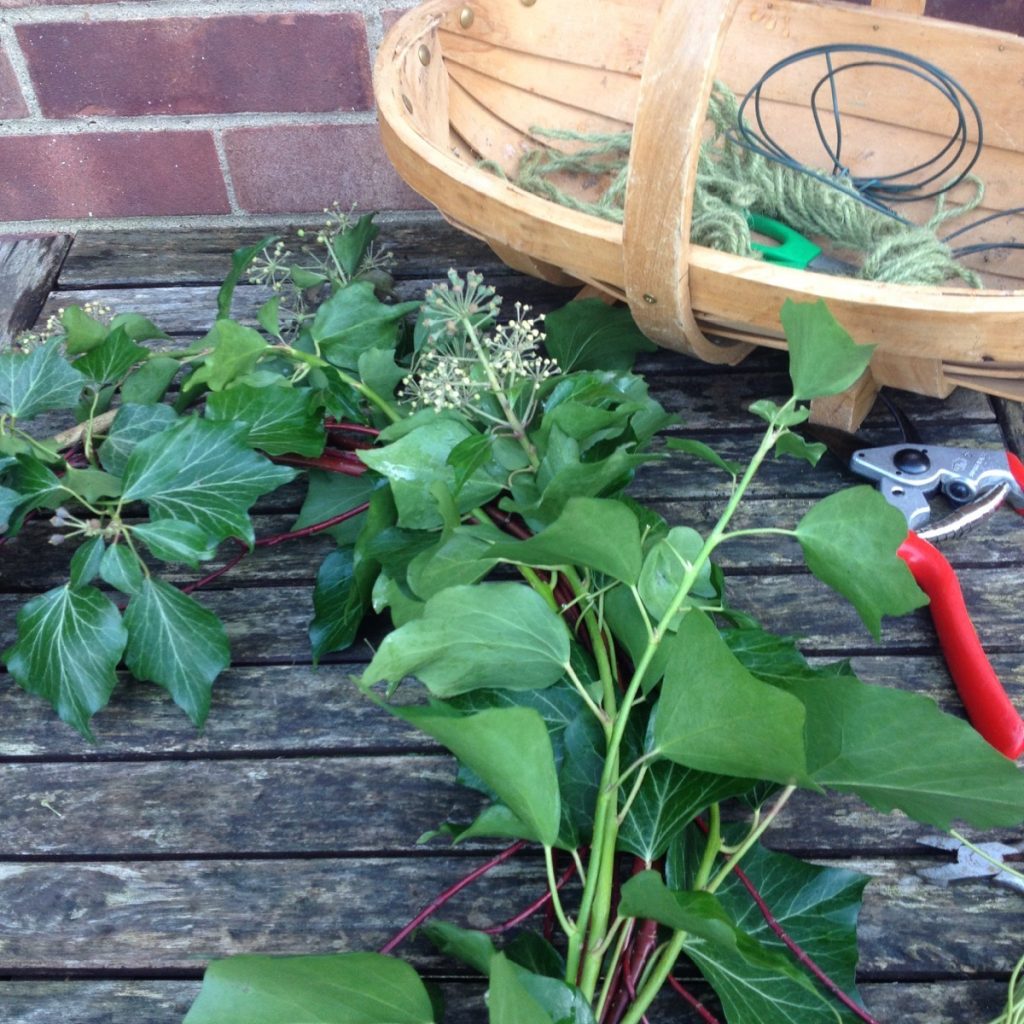
To make your wreath, you will need some tools:
- Secateurs
- Fine wire (I used plastic-coated garden wire)
- Wire cutters
Start by making a circular framework of bare stems. I used red cornus (dogwood) stems, but you could use anything with a bit of strength and flexibility, such as hazel or willow. Use short pieces of wire to tie two or three stems together at a time, adding in more as you go along, until you have sufficient length to bend it round into a circle. If you’re struggling to get a nice angle to the curve, it may be that the stems are too thick and unflexible. Cut the thicker section off, and try again. Weave in any protruding pieces.
Once you’ve made your frame, you can start adding evergreen foliage. I used flowering ivy stems and pieces of bay. If you’re less afraid of being prickled than I am, you could use holly. Any type of conifer will work well too. Pine is particularly nice if you can find small stems with cones attached. Add the pieces by wiring them to the framework, ensuring each piece overlaps, and points in the same direction around the circle.
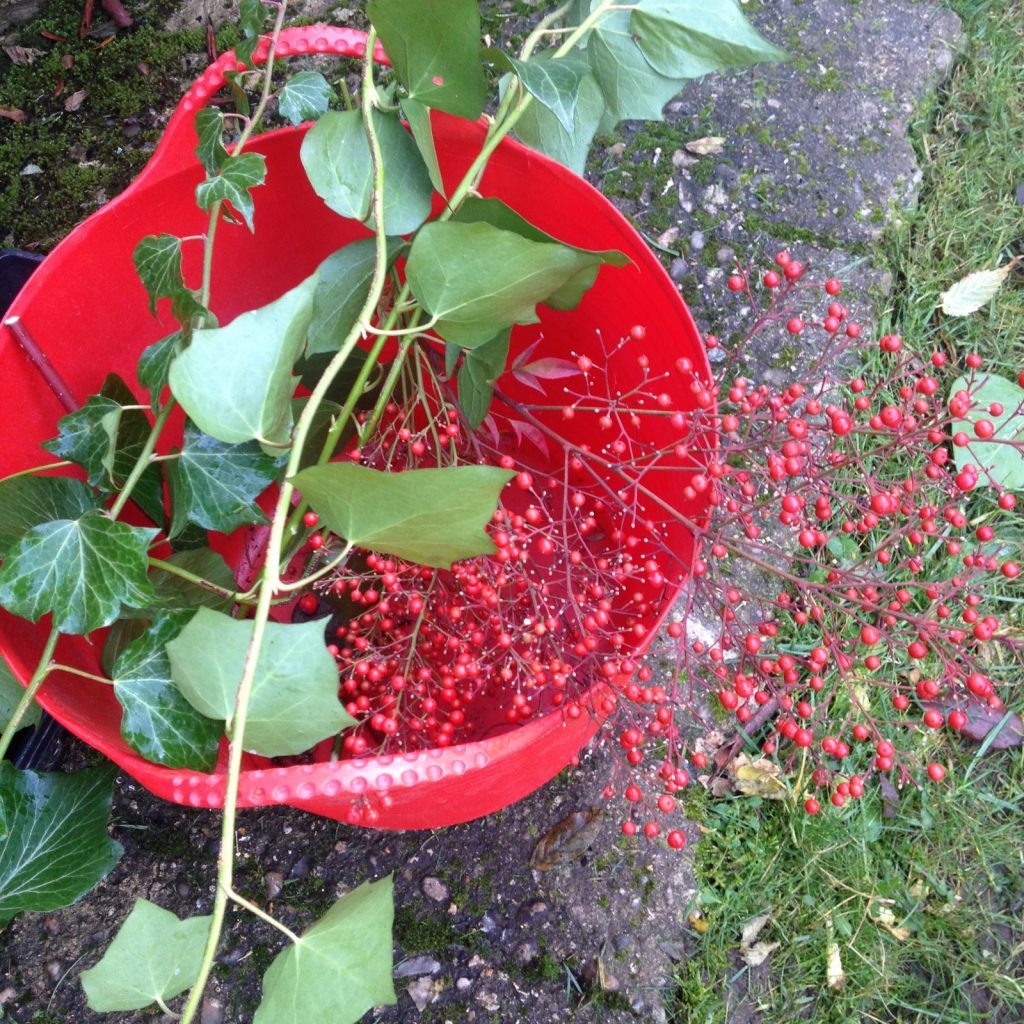
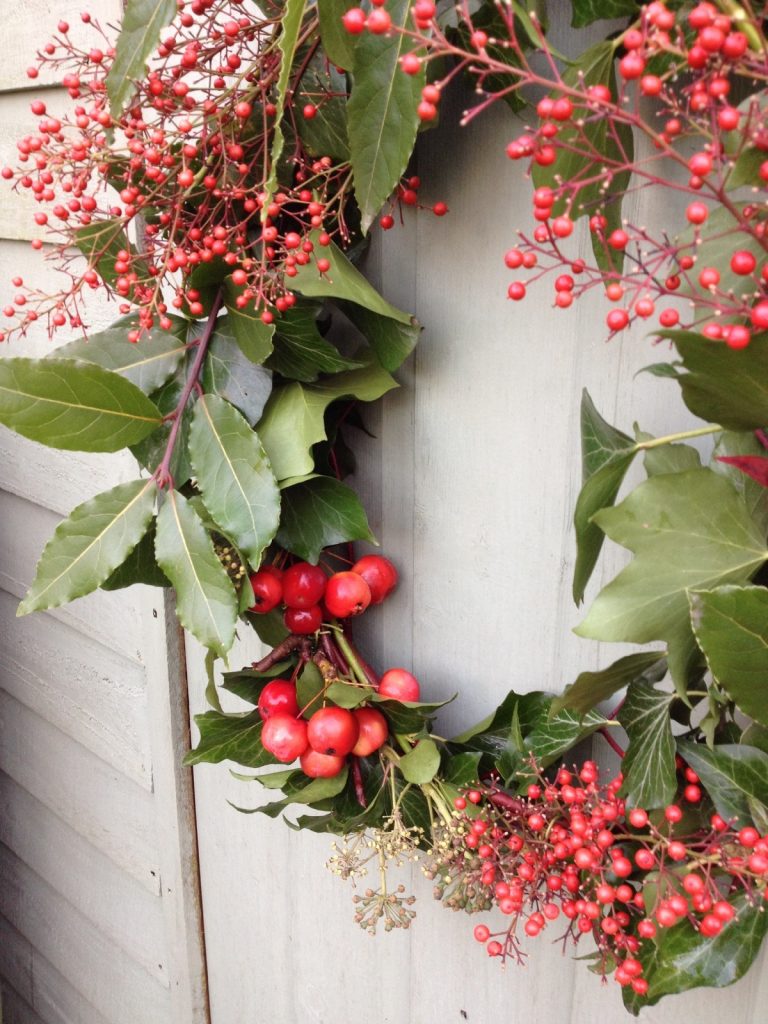
Now, it’s time to add some colour. I spent a bit of time walking around the garden looking for berries, which is a pleasant task on a nice day anyway. My sorbus (rowan) is currently covered in bright red-orange clusters of berries, but it looks so wonderful that I couldn’t bear to denude it. I considered using cotoneaster berries but they fell off too easily when I gave the branches a shake, which wouldn’t do for a wreath. So I cut some bunches of pale red berries from my nandina domestica. I also cut a couple of short sections from the malus ‘Red Sentinel’, which is loaded with fat, glossy, red crab apples at the moment. White snow berries would look good too, or orange pyracantha berries (watch out for the thorns!)
It’s always a good idea to work in odd numbers for any design. Wire in three clusters of berries, arranged at different points around your circle, again, keeping them all pointing in the same direction. I used the nandina berries for this. Then add another detail as a focal point, somewhere off centre looks best. This is where I used the crab apples. Tie some garden twine to the top of your wreath and hang it proudly on your front door. Now you can do a little titivating, tucking or tweaking any leaves or stems that are poking out and ruining the balance of your lovely wreath.
A natural wreath should last a few weeks, if you keep it outdoors. If the foliage starts to look a bit sad or wilted, give it a spritz of water to perk it up. And if you do make a wreath or any other natural Christmas decorations, please do share a photo on my facebook page! I’d love to see them.


3 comments for “How To Make A Christmas Wreath”