In my last post, I mentioned that I wanted to renovate the border in front of my living room window. The fact is, we have quite literally no money to spend on the garden at the moment, but I wasn’t going to let that stop me.
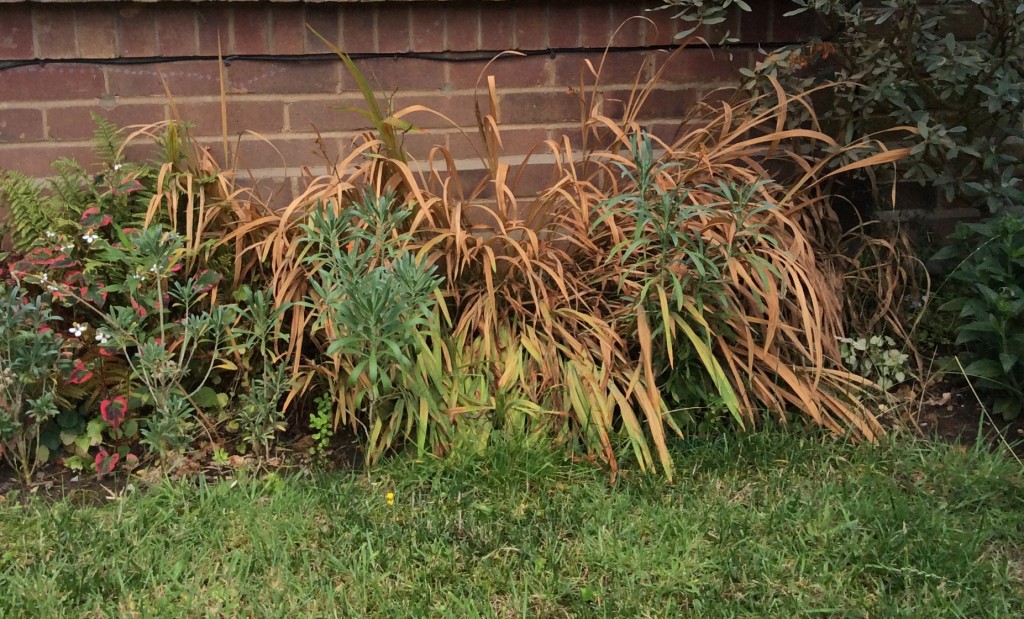
The border in question is at the front of the house. It was one of the first areas I planted, not long after we moved in, and I just bunged in whatever plants I happened to have at the time. Which is why it ended up looking a complete mess, with sad plants in the wrong position. I see it every time I walk up the path to the front door, so it needed sorting soon.
It was gorgeously sunny on Saturday afternoon, and I had a bit of free time, so I decided to get on with it. I worked solidly from 3.30 to 7, and the following day my whole body ached. It was invigorating! Here’s what I did:
1. Lift and tidy existing plants
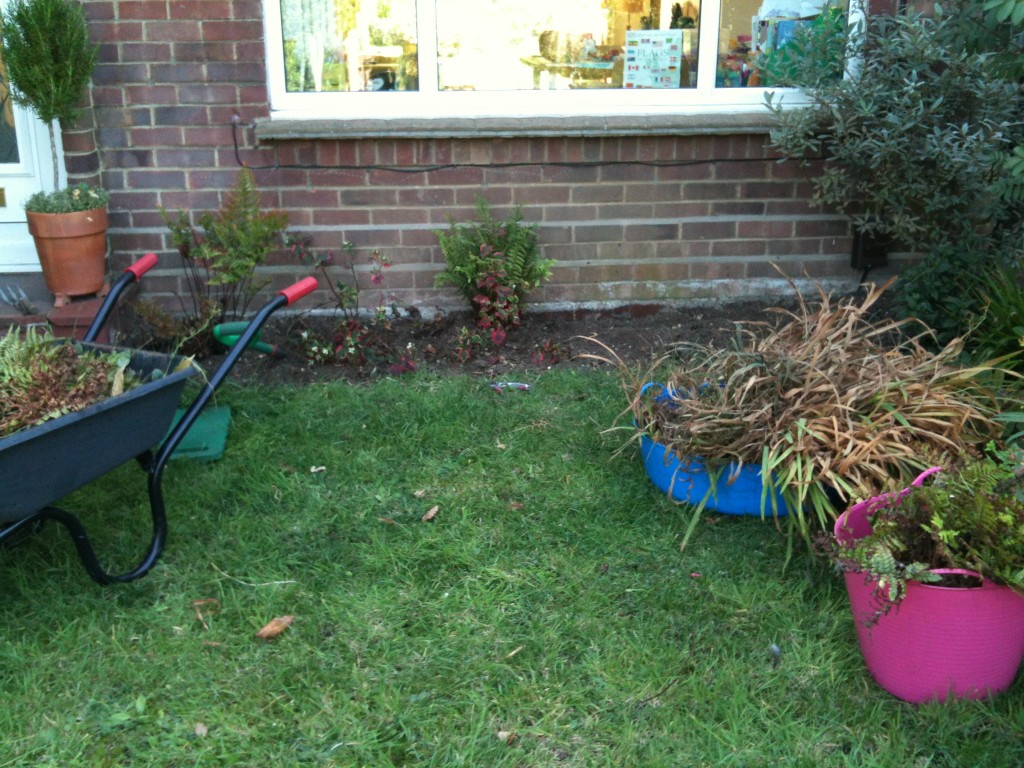
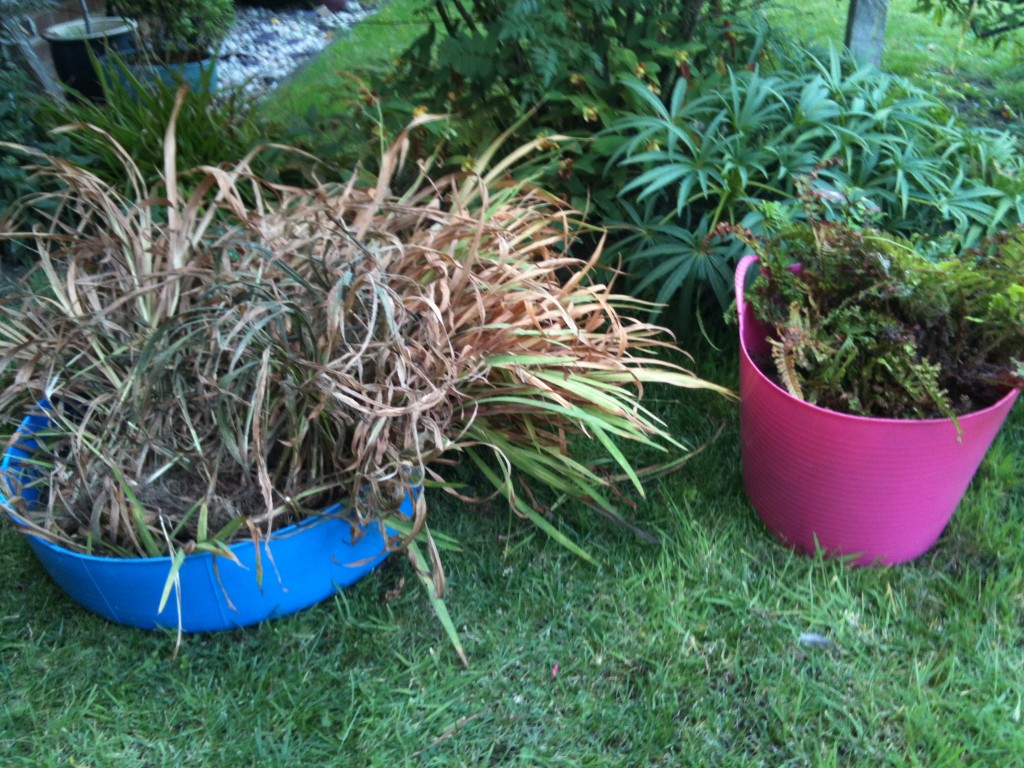
My first job was to dig up the plants that I wanted to keep and pot them up to use later. I gave these a prune, cut off dead or damaged foliage, and then watered them. I pulled up and dumped the biennial wallflowers growing in front while I was at it, as they’re past their best having flowered in spring. The border was smothered with campanula which grows like a weed in my front garden, and it filled the wheelbarrow once I’d got it all out to put in the compost bin. I also tried to remember where the daffodil and Snake’s Head fritillaria bulbs were, and dug these out to set aside for planting later.
2. Mark out new border and lift turf
Next I used a plank of wood to mark out a new straight edge for the border, to make it deeper, and began removing the turf. This was really hard work. I did it using a border spade to cut out sections with vertical cuts, and then shovelled under the turf and lifted it out. I’m much better at turf lifting now, compared to when I first started gardening, partly through practice and partly because I’ve recently started doing pilates to build up my core strength after two c-sections! Two heavy barrow loads later and the turves were in the compost bin (upside down so they stop growing).
3. Prepare soil and consider planting conditions
I dug over the border to remove large stones and break up the compacted soil, and forked in some compost to enrich the soil and improve water retention. The soil in my garden tends to be very dry and sandy, and this border is east-facing, meaning it only gets sun in the morning. I needed plants that would flower and thrive in dry shade, which is not an easy ask. I had to spend as little as possible; actually my budget was zero pounds. So I pinched suitable plants from other parts of the garden, self-seeders or plants that were a bit squashed or unhappy in their current location. This is my plant list (with flower colour and season in brackets):
Already in border:
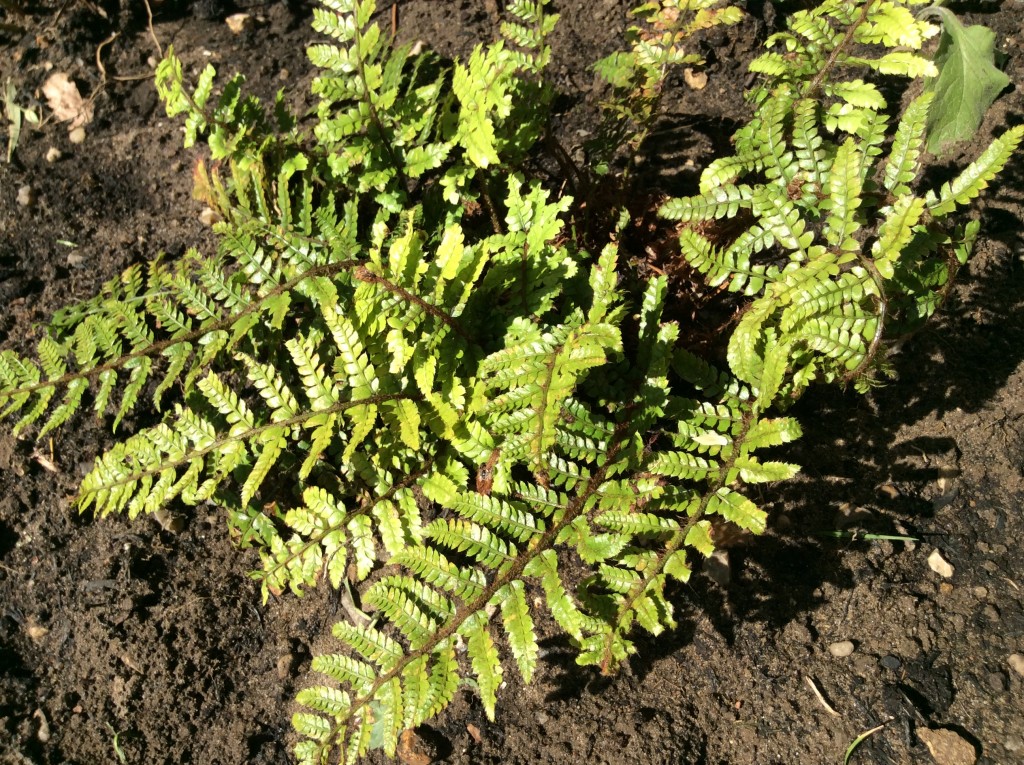
- Ferns
- Daffodils (white or yellow, spring)
- Snake’s Head fritillaries (purple, spring)
- Houttuynia (white, variegated leaf colour, summer)
Self-seeded around the garden:
- Pulmonaria (pink and blue, spring)
- Hellebore Foetidissima (pale green, spring)
- Lily of the valley (white, spring)
- Hardy geraniums (purple, pink and maroon, summer)
- Oxalis ‘Iron Cross’ (dark pink, and maroon/green leaf colour, summer)
- Foxgloves (purple or white, summer)
Relocated from other parts of the garden:
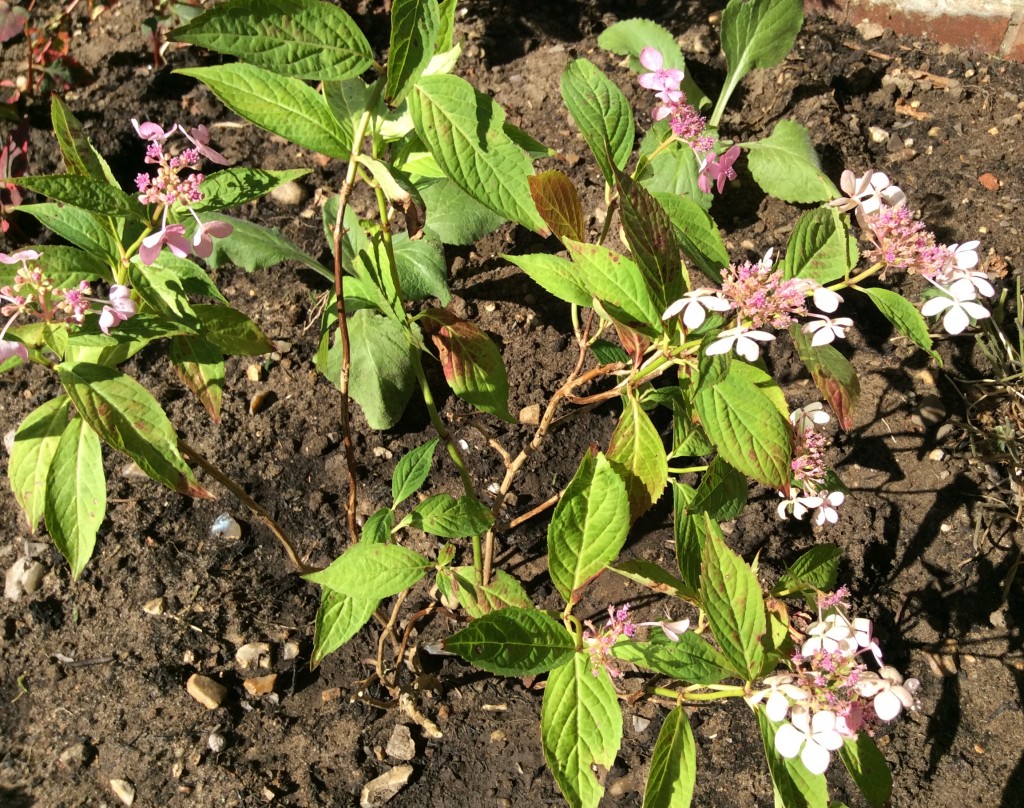
- Lacecap hydrangea (pink, mid-summer)
- Heucheras (white or pink, spring and summer)
And a gift from my mum:
- Persicaria (dark pink, late summer)
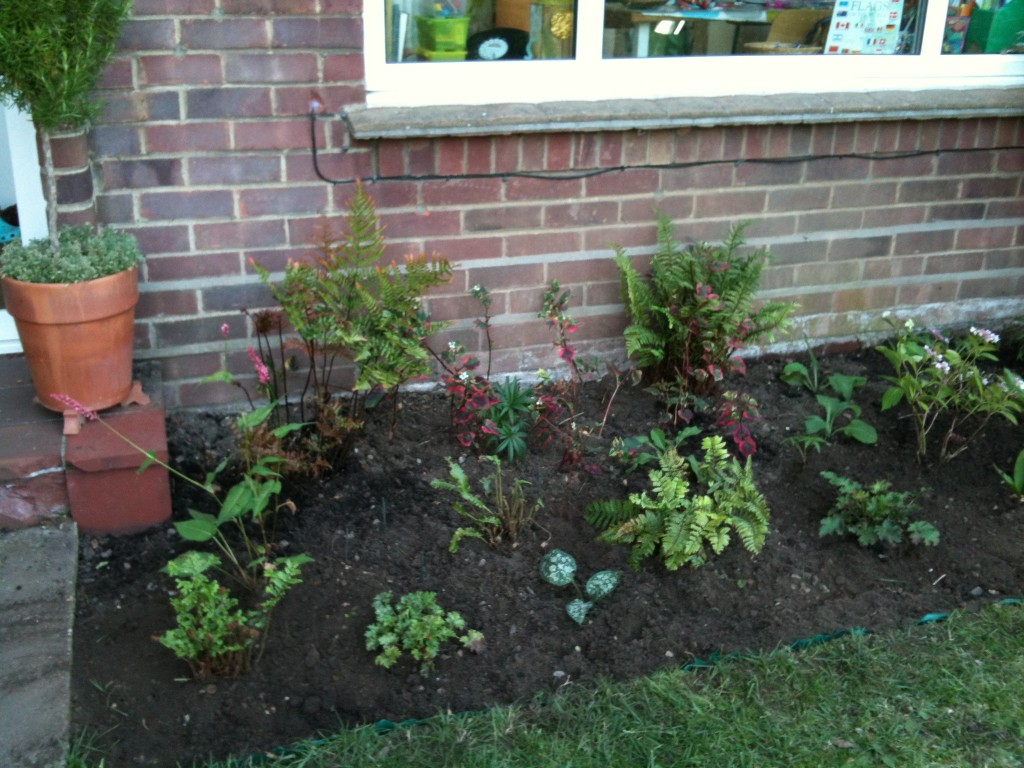
4. Begin planting (the fun bit)
Finally, I was able to do some planting. Where I couldn’t reach to dig without standing in the border, I stood on the plank to spread my weight and avoid compacting the freshly forked soil. The plants are well spaced out to allow room for growth, and I’ve left some gaps for more plants and spring bulbs to be added in autumn, when hopefully I may have a bit of money to spend.
5. Water, water, water
Lastly, I gave everything a good soak. It will need watering regularly at this time of year, possibly daily, depending on the weather, while the plants are establishing. This is best done early in the morning or late in the evening, to avoid leaf scorch and waste through evaporation. I’m also going to give the hydrangea a thick mulch, as it’s quite a hungry, thirsty plant.
6. Watch and wait
I’m looking forward to seeing this border mature, especially next summer when the foxgloves send up their tall, purple flower spears that the bees love. But I think even today it looks better than it did before. It’s important to be patient and hold a vision in your head of what a border will become in a few months. Instant gardens are not realistic for most of us, unless you have a ridiculously huge budget. Even if you do, it wouldn’t be as satisfying as nurturing and watching these little plant babies grow into handsome adulthood. But I did go over budget actually. I spent £4 on a bag of compost. Oh dear. Fail.