I’ve been building a wildlife pond. In Part 1, I ran through the first steps, which mostly involved digging a huge hole and moving loads of soil around. The next steps proved to be both fun and frustrating!
So, you’ve got a big hole, you’ve put in your pond underlay and liner, and you’ve filled it with water. What next? Well, now comes the tricky bit…
5. Creating The Pond Edge
Our pond has a shallow, sloping beach at the front, so birds and mammals can come for a drink or bath, and so any creatures that fall in can easily get out again. It butts up against the lawn at the front, and I didn’t want to use rocks or slabs to cover the liner there. We decided to tuck the edges of the liner down into a little trench.
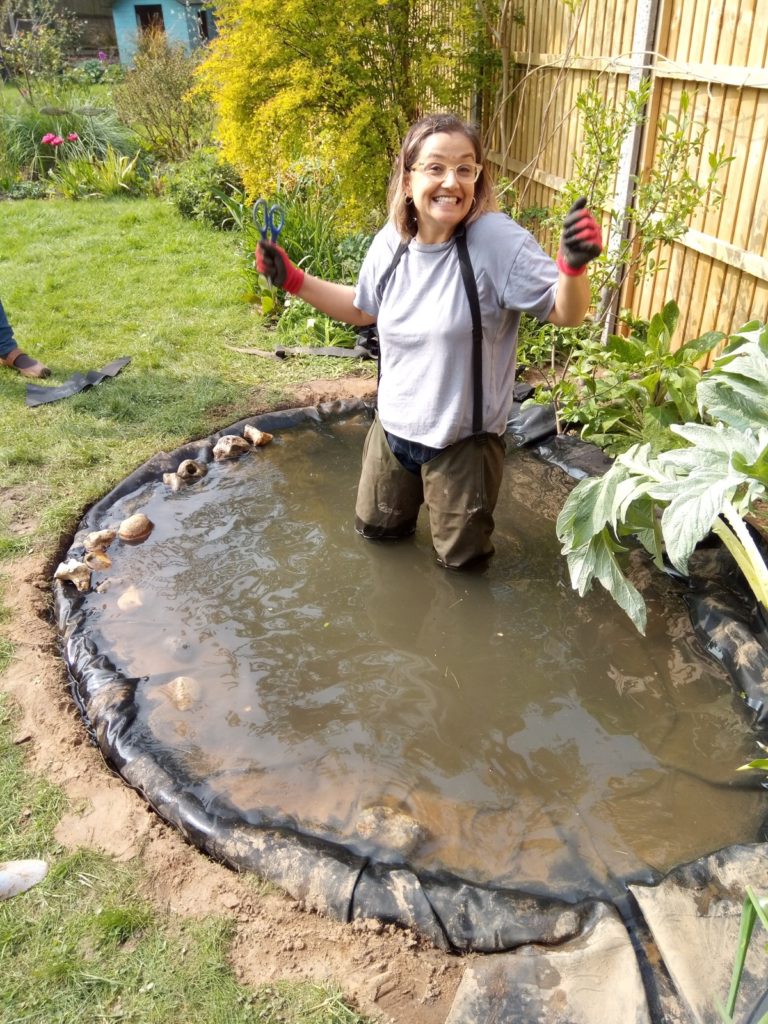
Around the sides and the back, we pegged the liner down with U-shaped wire pegs, and started to place large pieces of granite and flint over it. This took a while, and involved me getting into the pond in some waders. The sensation when you first get into a pond in waders is really weird – the water pressure makes the waders cling tightly to your legs, while at the same time you’re slightly buoyant. It’s a bit like walking on the moon (maybe?) Thankfully, I managed not to fall in!
I bought a few rocks, but most of them were scavenged from around my garden and from a few clients’ gardens – thank you, lovely people of Norwich. The key thing, of course, is to hide all of the liner. This is much easier said than done, and at times I felt like I was playing a peculiar game of rock Jenga.
Luckily, I had a surprise helper in the form of a neighbour’s cat, who kindly and repeatedly tested the rock edge for stability.


6. Adding Plants
If you’ve filled the pond with tap water, you should wait a week or two before adding plants. Tap water has a high level of nitrates, which isn’t good for aquatic plants, but the concentration will drop over time. So be patient. This is the bit I was really looking forward to. It’s the point when your pond transforms from a big puddle to a water habitat.
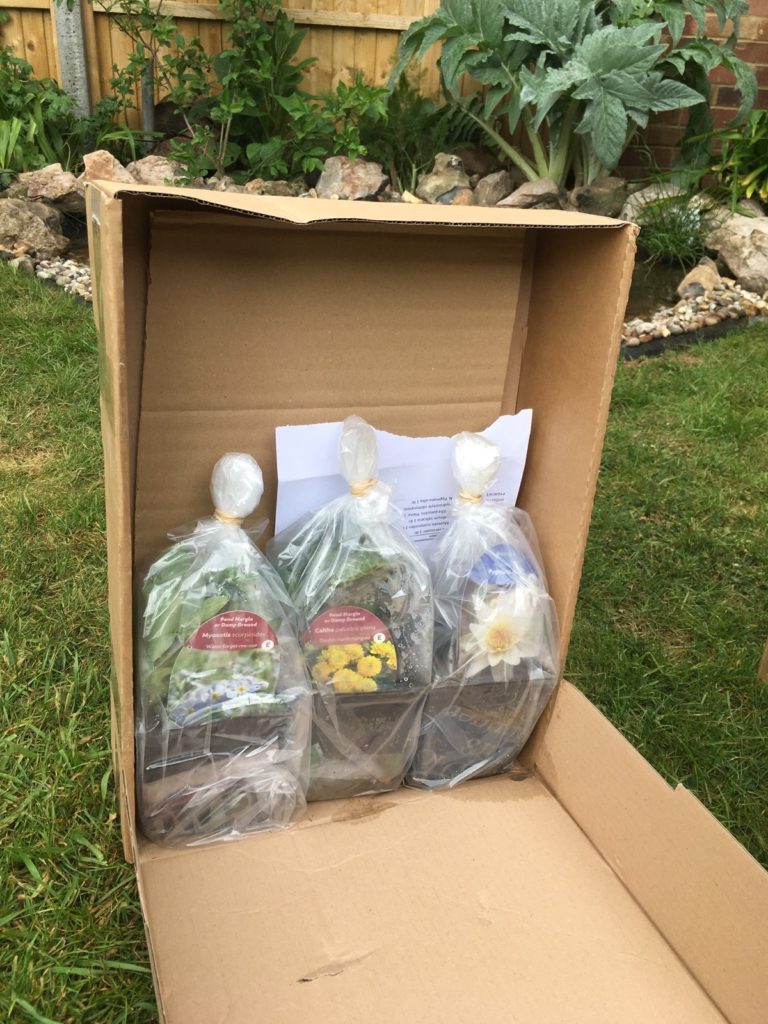
Bradshaw’s Direct* sent me a collection of wildlife-friendly plants:
- Marsh Marigold – a native marginal, bee-friendly
- Purple Loosestrife – a native marginal, bee-friendly
- Water Forget-me-not – a native marginal, bee- and newt-friendly
- Iris versicolor – a pretty marginal!
- Crystal Confetti – mat-forming oxygenator
- Pygmy Water Lily – deep water plant
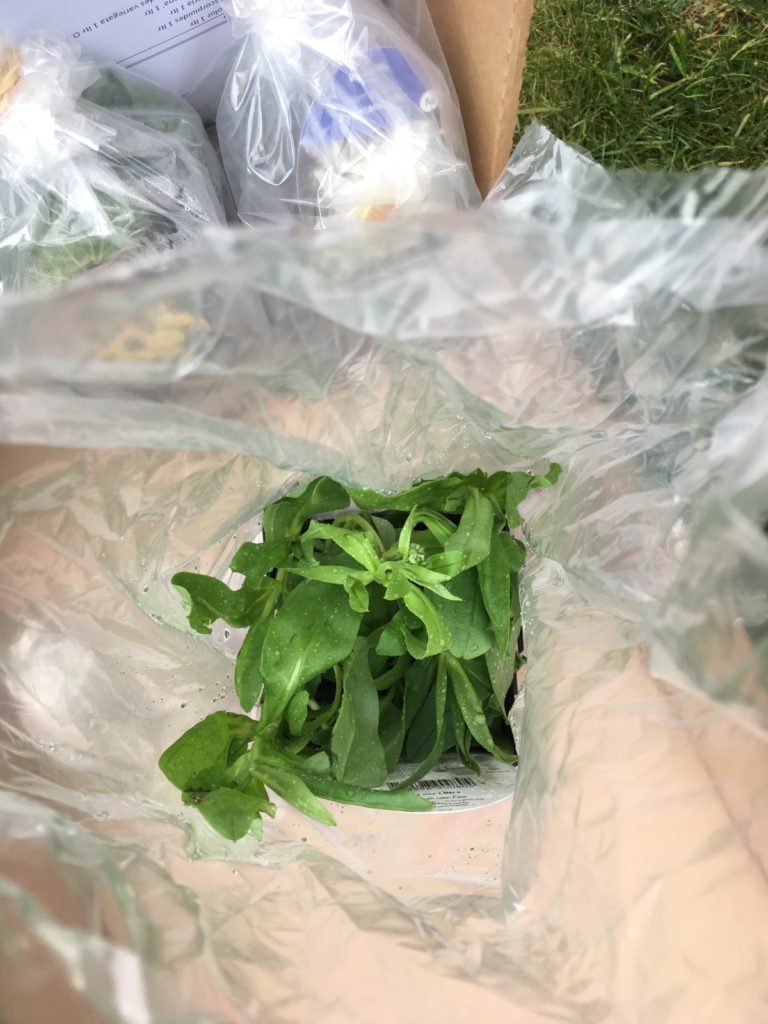
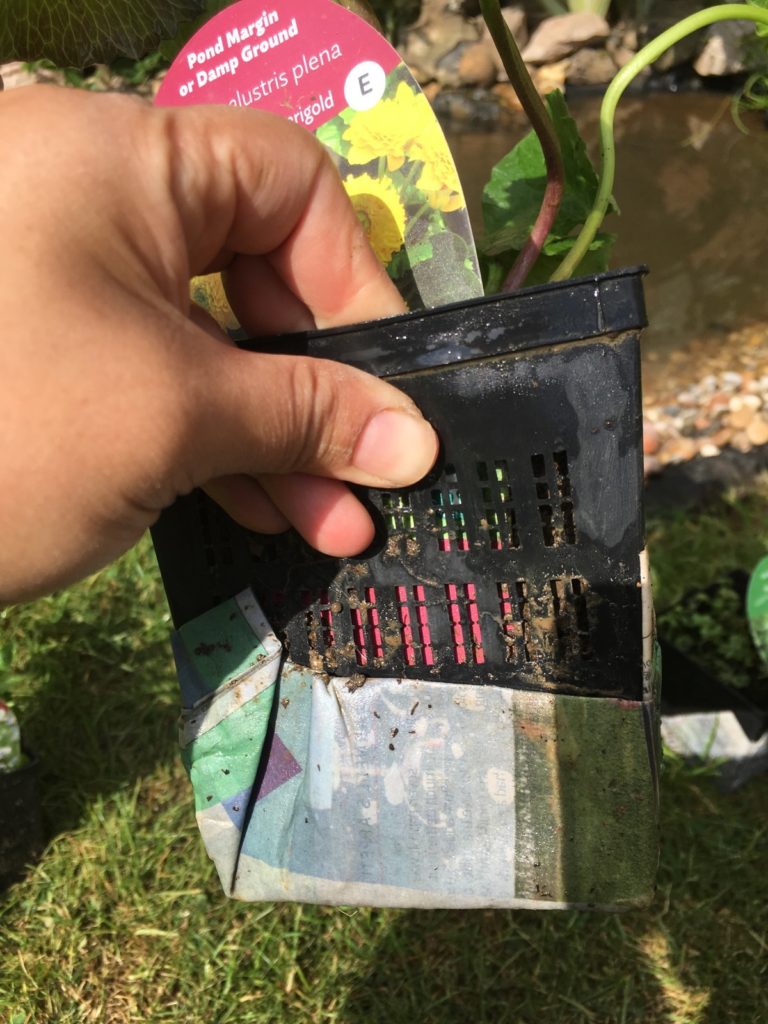
I have to say, I was impressed by the way the plants were delivered. They were sent by overnight courier, and were still wet and healthy-looking when I unpacked the box, thanks to layers of wet newspaper wrapped around the pots, and sealed bags around the plants themselves.
They were already planted in mesh baskets, so could go into the pond straightaway. However, this revealed a fairly major error in my pond planning! The planting shelves weren’t deep enough and the tops of the pots showed above the water level. Complete disaster. After much experimenting and frustration – imagine me frowning and staring at the pond for indefinite periods of time – I finally repotted some of the plants into shallower, wider baskets, lined with hessian to hide the tops. And I put others into the bottom of the pond, with bricks underneath to raise the pots to a suitable height. I’m fairly happy with the result.
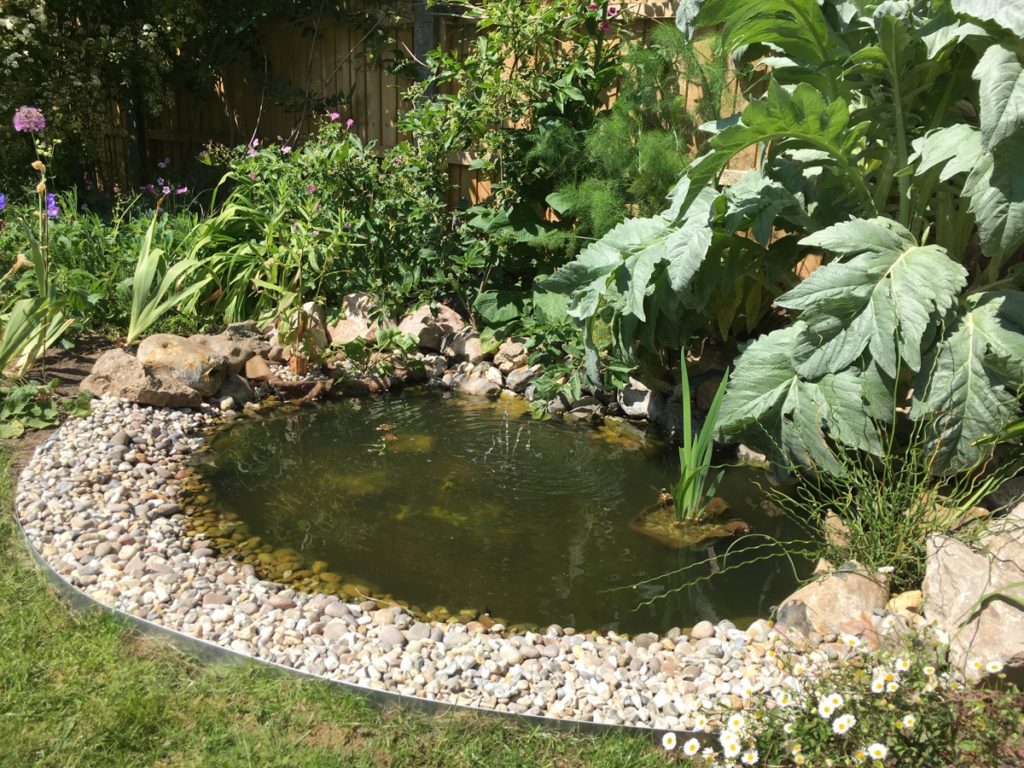
7. Finishing touches
I added pebbles and gravel to create a beach, and filled in any nooks and crannies where the black liner was showing. I used some of the pond underlay over the liner on the beach, to create a more grippy surface for the gravel, as otherwise the stones would just slide into the pond. And I put in some flexible aluminium edging between the lawn and tucked-in liner, so I could bring the pebbles right up to the edge of the grass.
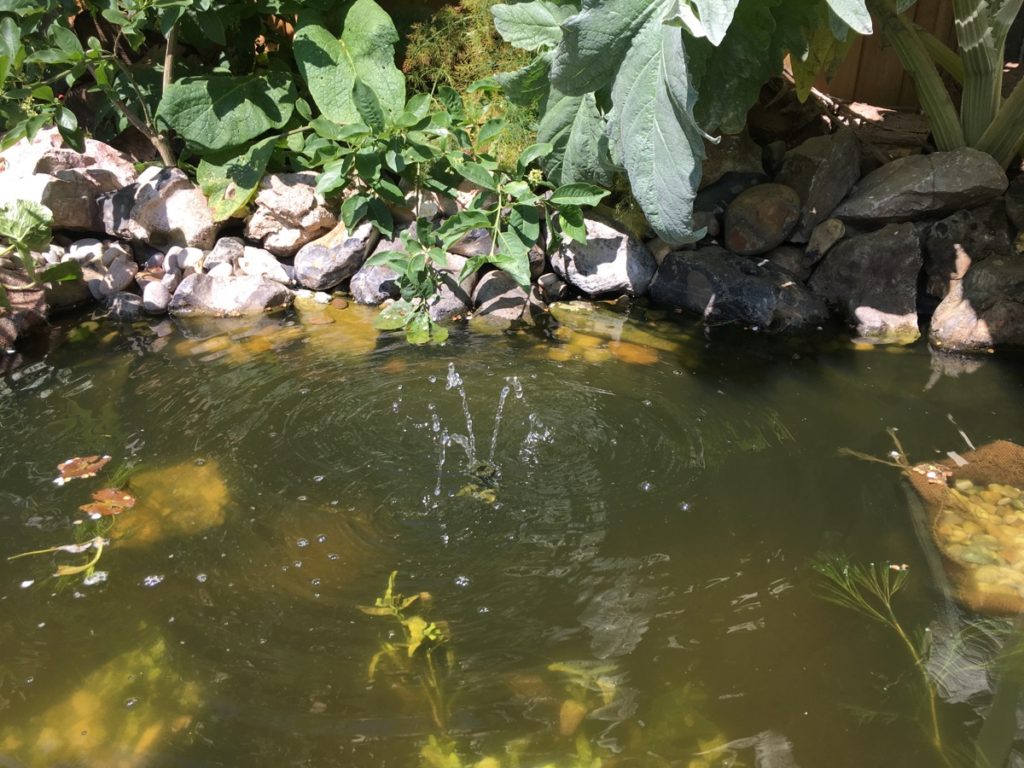
Lastly, I put in a little fountain, provided by Bradshaw’s: the Pondkraft Solar Fountain Pump 300 Plus. I was somewhat cynical about how good a solar fountain would be, given the British weather. This one has a separate solar panel, which I’m planning to attach to the fence behind the pond, and a battery/control pack, which I will tuck away in the border.
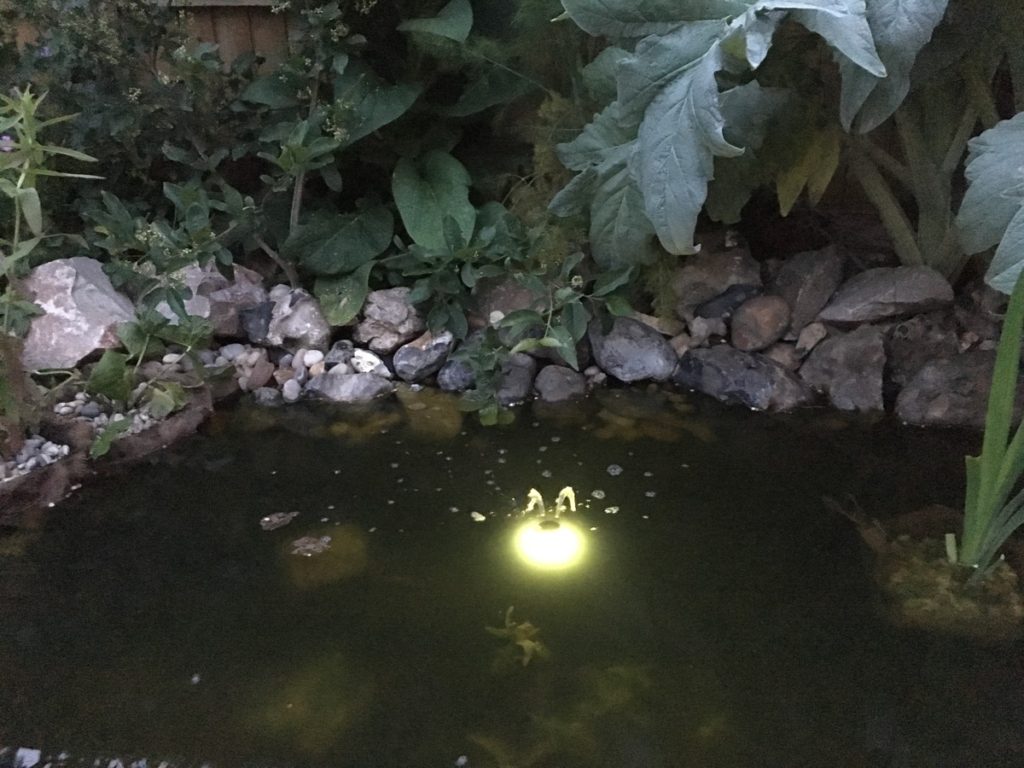
The fountain actually works brilliantly. There’s a timer setting, so it comes on for a few hours every day, like outdoor Christmas light sets. There is a selection of different heads so you can choose the one you like best, and a dial to turn the pressure up or down. I prefer a gentle trickle, which has the added benefit of using less battery power so it lasts longer. The sound of the water splashing on the surface is so relaxing. There’s also a light that you can see glowing under the water in the evening – this wouldn’t be a deal breaker for me, but it’s nice, and you can turn it off if you want to.
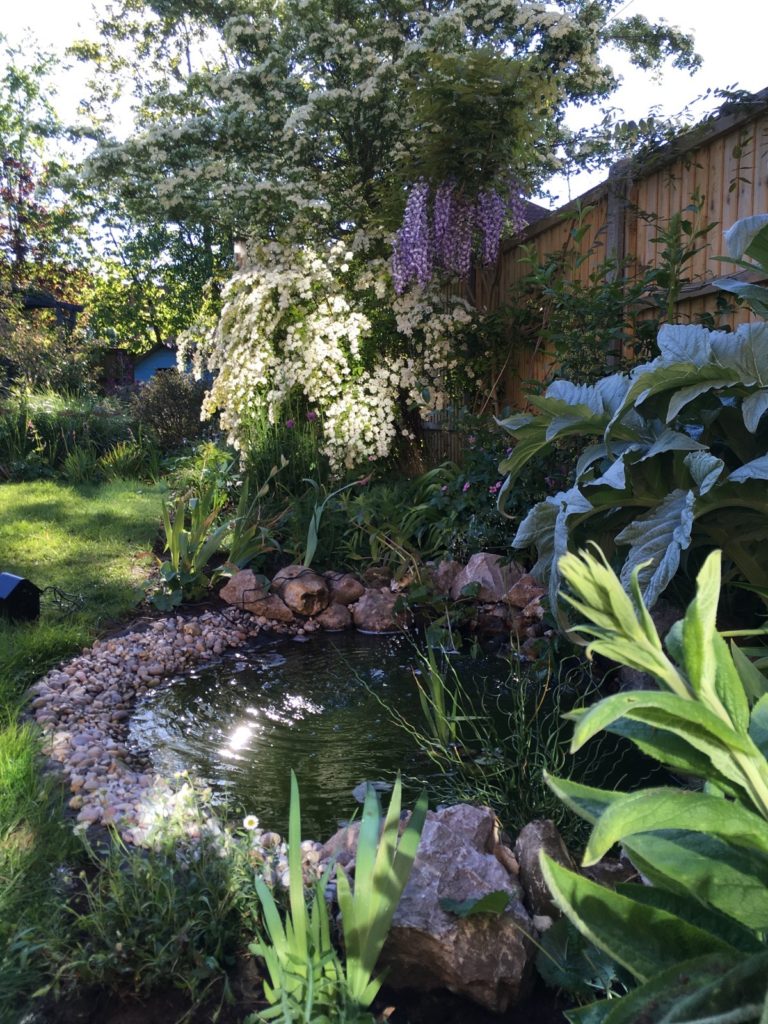
8. You’ve finished! Sit back and enjoy your pond.
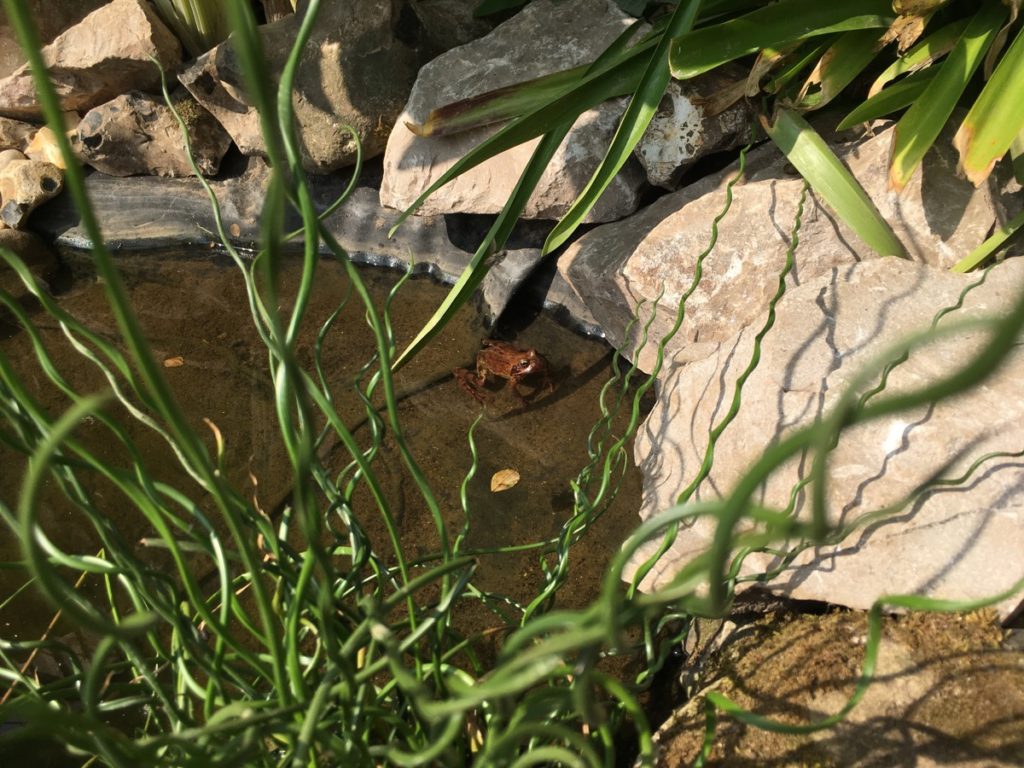
I was amazed by how little time it took for wildlife to move into the pond. Within days, we had a frog visiting regularly. And a mass of mosquito larvae – not so good, but I put in a floating ‘Mosquito Dunk’ that seems to have done them in. We’ve had red Damselflies visiting, and birds have been having baths on the beach. (They are knocking the beach pebbles into the deep part of the pond and revealing the liner again, but I forgive them.)
I’m sure we’ll get some more water insects in time, and in the meantime, it’s just lovely to sit and look at the pond, notice how the plants are growing, and enjoy the sunlight reflecting off the water.
I’ve been slowly adding to my pond plant collection:
- Corkscrew rush – a shallow water marginal with twisted, curly stems.
- Water soldier – a native, floating plant with rosettes of sword-shaped leaves, and white to slightly pink flowers held above the water in summer. Apparently, it’s favourite of dragonfly nymphs, which is awesome.
- Ranunculus aquatillis – a floating, native oxygenator.
- Water violet – a native oxygenator.
I’ll let you know how the pond develops, and if it attracts any new creatures. Hopefully, I’ve inspired you to create a wildlife pond in your own garden. Do get in touch if you’ve done anything similar, as I’d love to hear about it!
——
*As I mentioned in Part 1, Bradshaw’s Direct sent me a few pond products to review. I haven’t been paid for writing these posts, but in the interest of transparency, I’m letting you know.
14 comments for “How To Build A Wildlife Pond :: Part 2”