 Summer is ending, which is sad, so I’m planting hyacinths that will flower inside in winter, perhaps in time for Christmas. It’ll give me something to look forward to as the nights draw in and the temperatures drop. These gorgeously scented, pretty bulbs would normally flower in early spring, if grown outdoors, but can be forced to flower earlier indoors, if you grow them the right way. Here’s how to do it…
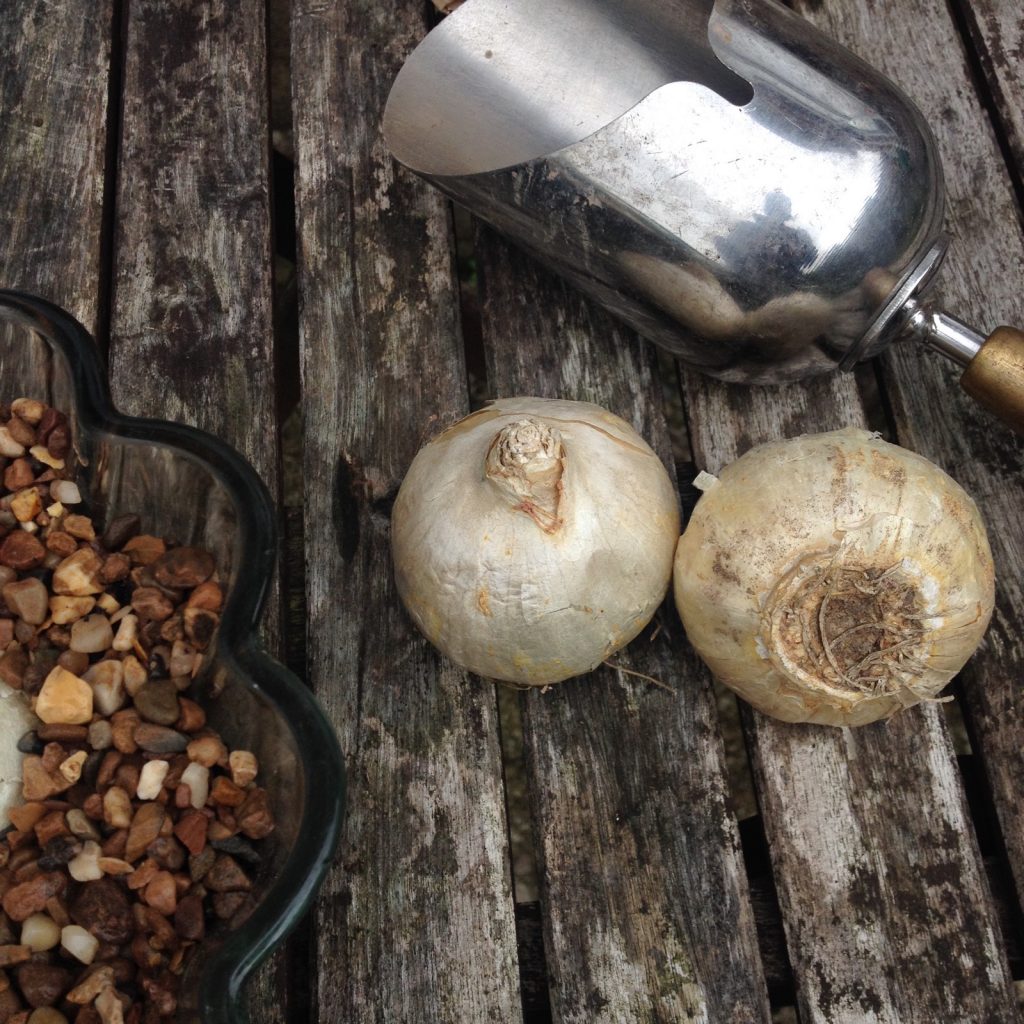
Hyacinths come in shades of purple, pink and white. I’ve gone for a white variety of hyacinth called Aiolos that will nicely match my Christmas decorations. You can buy them in packets or loose.
Health and safety note: It’s best to wear gloves when handling hyacinth bulbs as some people find they can cause skin irritation.
Make sure you buy bulbs that are labelled as prepared, rather than normal hyacinth bulbs. They will be available in all garden centres and supermarkets this month. They are also sometimes called forced bulbs. Prepared or forced bulbs have been kept at a low temperature for a period of time, fooling the bulb into thinking it has been through winter already. This stimulates it into growth sooner than if it were left to nature, giving us earlier flowers.
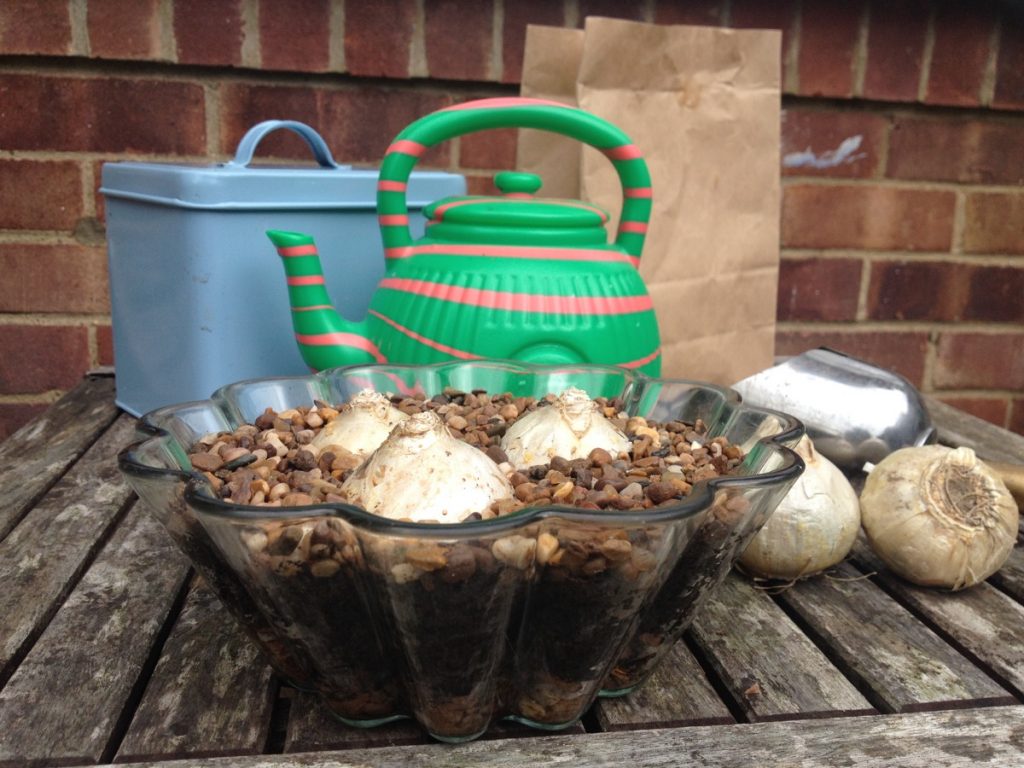
Choose a relatively shallow bowl without a drainage hole, to avoid water coming through and damaging your furniture or carpet. I used an old glass jelly mould.
Fill the base with one to two centimetres of grit.
Next add a layer of compost, leaving about two centimetres at the top. Bulb fibre is preferable because it has a good, open texture and is moisture-retentive but free-draining, which is especially important if your container doesn’t have a drainage hole. But I used horticultural charcoal and seed compost, which is a good alternative if you don’t want to fork out for a bag of bulb fibre.
Space your bulbs out on the surface with the roots down, making sure they are not touching. Odd numbers always look better than even. Press them gently down into the compost, so the nose of the bulb is level with the top of the pot.
A layer of grit or spagnum moss is an attractive way to cover the compost. Leave the tops of the bulbs showing.
Finally, gently and lightly water the pot, taking care not to get water on the noses of the bulbs.
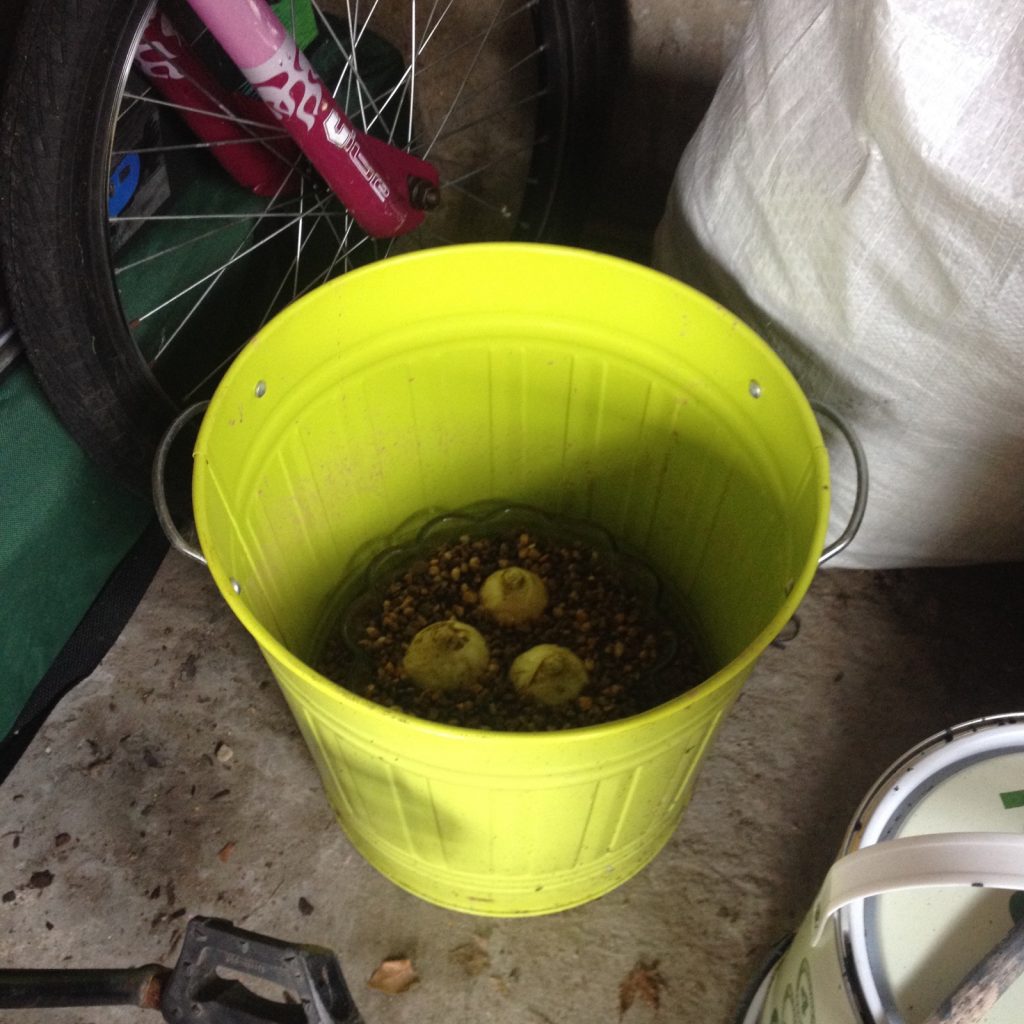
You’ll need to find a cool, dark home for the pot for the next few weeks, such as the floor of a garage or cellar. Remember to take a weekly peak at it. Keep an eye on the moisture levels in the compost; add a little water if you notice any shrinkage around the edge. But remember that too much water will result in lots of lush leaves at the cost of the flowering stem.
After a couple of weeks, you should notice a pale, creamy-white shoot emerge from each bulb.
After four to five weeks, the flower bud should have emerged and reached four to five centimetres in length. At this point, bring the pot into the light, and place it somewhere bright. Avoid spots on hot windowsills or next to a radiator, rather, choose a cool, bright room. In 12 to 24 hours, the shoot will turn green.
Once the bulbs are growing well, you can move the pot to a warmer, brighter spot, still avoiding direct heat sources or draughts. As they continue to grow, each bulb should have a flower bud and stem that is taller than the surrounding leaves. If you find the leaves are overtaking the flower stem, ease off on the watering.
Fingers crossed, if you plant the bulbs by mid-September at the latest, and do all of the above, you’ll be able to enjoy beautiful hyacinth flowers indoors at Christmas.